
Building a crypto launchpad is one of the most exciting things you can do in the blockchain space right now. But it is also one of the most complex. If you are a founder, developer, or product manager thinking about how to build a crypto launchpad, you are in the right place. This guide covers everything you need to know about crypto launchpad development – from the core features to the security checks that protect your users and your project.
Many token launches fail – not because of a bad idea, but because of avoidable problems. Security vulnerabilities, poor tokenomics design, low liquidity at launch, and compliance gaps are among the most common reasons projects run into trouble. These are not small issues. They can cost projects millions of dollars and destroy community trust fast.
This post walks you through the top features every successful token launch platform needs. You will also find a phased roadmap to help you plan your build from start to finish – whether you are starting from scratch or exploring white-label crypto launchpad options.
By the end, you will have a clear picture of what a solid, scalable, and user-friendly launchpad looks like from the inside out.
What Makes a Crypto Launchpad Platform Viable in 2026
The crypto space moves fast. A launchpad that worked well two years ago may already feel outdated today. So what does it actually take to build a crypto launchpad that holds up in 2026?
At its core, a viable launchpad platform needs to do four things well. It needs to be secure, easy to use, compliant with regulations, and built to scale. Miss even one of those, and you will likely struggle to attract quality projects or serious investors.
The IDO launchpad market has grown significantly over the past few years. More projects are choosing decentralized fundraising over traditional venture routes. That means more competition – and higher expectations from both project teams and investors.
There are also different types of launchpads to consider. IDO (Initial DEX Offering) platforms are the most common right now. But ICO, IEO, and INO (for NFT projects) platforms each serve different needs. Understanding which model fits your goals is one of the first decisions you will make in the launchpad development process.
What separates a viable platform from one that fades out quickly comes down to three things – trust, tooling, and token launch mechanics. Projects want a platform with a strong reputation. Investors want clear information and a fair process. And both sides want the technology to work without friction.
Getting that balance right is what good crypto launchpad development is really about.
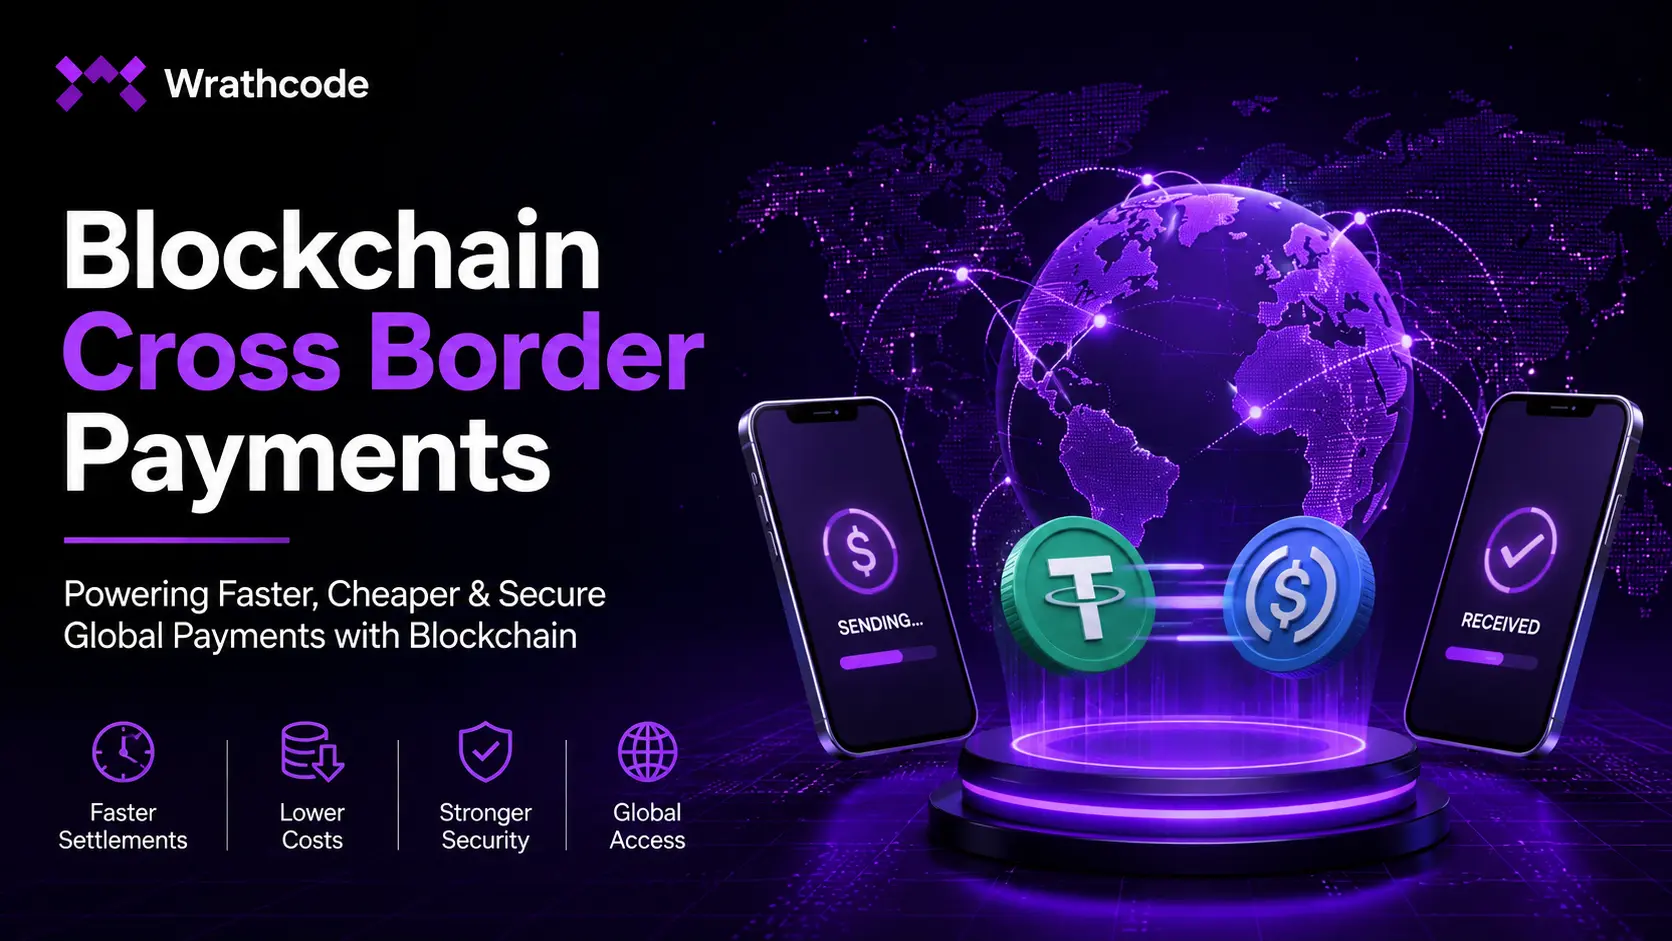
Also read – Blockchain’s Cross Border Payment Integration in Crypto Exchange
Core Smart Contract Architecture
The smart contract is the engine of your launchpad. Everything – from how funds are collected to how tokens are distributed – runs through it. If the contract has a flaw, the whole platform is at risk. This is why smart contract architecture is one of the most important parts of any crypto launchpad development project.
Token Sale Contract
The token sale contract controls how tokens are sold. There are three common pricing models you can build into it.
- Fixed price – every buyer pays the same price. Simple and predictable.
- Dutch auction – the price starts high and drops over time until all tokens are sold. This helps find a fair market price.
- Dynamic pricing – the price adjusts based on demand. More complex to build but can improve fairness.
Each model has trade-offs. For most early-stage launchpads, fixed price is the easiest to start with.
Vesting and Cliff Logic
Vesting controls when token buyers can access their tokens after purchase. A cliff is a waiting period before any tokens are released. For example, a 3-month cliff with a 12-month linear vesting schedule means buyers wait 3 months, then receive tokens gradually over the next 9 months.
Building this logic directly into the smart contract removes the need for manual distribution – which reduces human error and builds trust.
Here is a simplified example of what a vesting check might look like:
Code snippet - illustrative only

if (block.timestamp < cliffEnd) {
    revert("Cliff period not over");
}
uint256 vested = totalAllocation * (block.timestamp - cliffEnd) / vestingDuration;
Refund and Escrow Mechanism
A trustless escrow holds raised funds until a softcap is reached. If the project does not hit its minimum funding goal, investors can claim a refund automatically – no middleman needed. This is a key feature for investor confidence and is commonly expected on reputable launchpad platforms.
For smart contract security best practices and audit standards, it is worth referencing the work of established audit firms like CertiK or Hacken, which publish detailed vulnerability reports and contract guidelines.
Also read – User Experience in Cryptocurrency Exchange Software Development
User Tier System and Staking Mechanism
One of the most powerful features you can add to a crypto launchpad is a tier system. It sounds complex, but the idea is simple. Users who stake more tokens get better access to token sales. This creates a fair structure and rewards loyal community members at the same time.
Why Tier Systems Work
A well-designed tier system does two important things. First, it drives demand for your launchpad’s native token – because users need to stake it to participate. Second, it protects allocations for serious investors rather than letting bots or large wallets take everything at once.
Most launchpads use 3 to 5 tiers. A common setup looks something like this:
| Tier | Tokens Staked | Allocation Type |
|---|---|---|
| Bronze | 500 | Lottery |
| Silver | 2,000 | Lottery + Guaranteed |
| Gold | 10,000 | Guaranteed |
| Diamond | 50,000 | Guaranteed + Bonus |
These numbers are examples only – actual requirements vary by platform.
Staking Mechanics to Get Right
The staking contract needs to handle a few key things cleanly:
- Token lockup – users stake tokens for a set period to qualify for a tier
- Duration weighting – some platforms give higher tier scores to users who stake for longer
- Snapshot logic – a snapshot of wallet balances is taken at a set time before each sale to determine eligibility
Getting snapshot timing right matters a lot. If it is announced too early, whales can game the system. A shorter window with clear rules works better.
Anti-Whale Caps and Lottery Allocation
For lower tiers, a lottery system keeps things fair. Instead of first-come, first-served, eligible wallets are randomly selected for an allocation. This gives smaller investors a real shot at participating.
Anti-whale caps set a maximum contribution per wallet. This stops a single large investor from taking the majority of a sale and leaving nothing for the wider community.
Good launchpad tokenomics design sits at the heart of all of this. The tier system only works if the native token has real utility and a sustainable supply model.
Also read – Spot Trading Crypto Exchange Development
KYC/AML and Compliance Layer
Compliance is not the most exciting part of crypto launchpad development. But it is one of the most important. Skipping it can expose your platform to serious legal and financial risks – and damage trust with the projects and investors you are trying to attract.
Why Compliance Matters Now
Regulators around the world are paying much closer attention to token sales than they were a few years ago. In many jurisdictions, if you are raising funds from retail investors, you are legally required to verify who those investors are. KYC (Know Your Customer) and AML (Anti-Money Laundering) checks are the standard way to do that.
KYC/AML for crypto launchpads is no longer optional for most platforms that want to operate at scale or attract institutional participation.
Integration Options
There are two main approaches to adding a KYC layer to your launchpad:
- Third-party KYC APIs – tools like Sumsub or Blockpass connect directly to your platform and handle the verification process. These are faster to integrate and typically cost-effective for early-stage platforms. They are commonly used examples – other providers are available.
- Self-hosted verification – building your own KYC system gives you more control but comes with higher development costs and ongoing compliance responsibilities.
For most launchpads, starting with a trusted third-party provider is the practical choice.
Jurisdiction Controls in Smart Contracts
Beyond user verification, you can bake compliance directly into your smart contracts. This means adding wallet-level whitelisting and blacklisting based on geography. Users from restricted jurisdictions – for example, certain countries under sanctions – can be blocked from participating at the contract level, not just the frontend.
Here is a simple example of how that logic might look:
Code snippet - illustrative only

require(whitelisted[msg.sender], "Wallet not approved");
require(!blacklisted[msg.sender], "Wallet restricted");
This approach adds a strong layer of protection and shows regulators that your platform takes compliance seriously.
A Note on Legal Advice
Every jurisdiction has different rules around token sales. What is legal in one country may not be in another. Always work with a qualified legal professional before launching your platform publicly.
Multi-Chain and Layer-2 Support
A few years ago, building your launchpad on Ethereum alone was enough. Today, that is no longer true. Investors and project teams expect to participate across multiple networks. If your platform only supports one chain, you are limiting your reach and your revenue potential.
Why Single-Chain Is a Competitive Disadvantage
Gas fees on Ethereum mainnet can range from a few dollars to over $50 per transaction during busy periods. For smaller investors, that cost alone can make participation feel pointless. Layer-2 networks and alternative EVM chains solve this problem by offering faster transactions at a fraction of the cost.
Supporting multiple chains is now one of the best features for crypto launchpads that want to attract a wide range of projects and investors.
Popular Chains to Consider
Here is a quick look at the most commonly used networks for launchpad deployment:
| Network | Strength | Best For |
|---|---|---|
| Ethereum Mainnet | Trust and credibility | High-value raises |
| BNB Chain | Low fees, large user base | Mass market projects |
| Arbitrum | Fast, cheap, EVM-compatible | DeFi-focused launches |
| Optimism | Low gas, growing ecosystem | Developer-friendly projects |
| Polygon | High throughput, low cost | Gaming and NFT projects |
These are examples of commonly used networks – the right choice depends on your target audience and project type.
Cross-Chain Launchpad Integration
Cross-chain launchpad integration adds complexity but opens up a much larger pool of participants. The key challenges to plan for include:
- Bridge compatibility – moving tokens or funds between chains requires reliable bridge infrastructure. Bridge failures are a known security risk and should be audited carefully.
- Gas optimization techniques – each chain has different gas models. Writing efficient contracts that minimize unnecessary operations helps reduce costs for users.
- Allocation sync – if a sale runs across multiple chains at the same time, your system needs a reliable way to track total contributions and prevent overselling.
For technical reference on deploying to specific Layer-2 networks, the official Arbitrum and Optimism developer documentation are good starting points for understanding network-specific requirements.
Practical Advice
Start with two or three chains that match your target audience. Build your multi-chain architecture in a modular way so adding new chains later does not require rebuilding your core contracts.
Whitelisting, Lottery, and FCFS Sale Mechanisms
How you structure the actual token sale process matters just as much as the technology behind it. The sale mechanism you choose directly affects fairness, community sentiment, and how quickly your raise fills up. This is a core part of launchpad fundraising mechanics that every builder needs to think through carefully.
The Three Main Sale Models
There are three commonly used approaches to running a token sale on a launchpad platform. Each one works differently and suits different types of projects.
1. Whitelist-Based Sales
In a whitelist sale, only pre-approved wallets can participate. Users register in advance and are either accepted or rejected based on criteria set by the project or launchpad operator.
- Pros – controlled participation, easier compliance screening, lower bot risk
- Cons – can feel exclusive or unfair if the process is not transparent
- Best for – projects with a strong existing community or compliance requirements
2. Lottery-Based Sales
In a lottery sale, all eligible wallets enter a draw. Winners are randomly selected and given a guaranteed allocation. This is a popular model for tier-based launchpads.
- Pros – fair for smaller investors, reduces whale dominance, builds excitement
- Cons – some eligible users will miss out even if they followed every rule
- Best for – high-demand sales where participation exceeds available allocation
3. First-Come-First-Served (FCFS)
FCFS sales open to all eligible participants at the same time. The first wallets to transact get the allocation until it runs out.
- Pros – simple to understand, fast to fill
- Cons – heavily favors users with fast internet connections and high gas settings, which can feel unfair
- Best for – smaller raises or secondary round top-ups after a whitelist or lottery round
Many platforms now combine models – for example, a guaranteed allocation round for higher tiers followed by an FCFS round for any remaining tokens.
Sybil Resistance
Sybil attacks happen when one person creates many wallets to increase their chances of winning a lottery or a whitelist spot. This is a real problem for launchpads and needs to be addressed directly.
Common sybil resistance techniques include:
- Wallet scoring – analyzing on-chain history to assess whether a wallet looks genuine
- Social verification – requiring users to connect a Twitter or Discord account
- On-chain history checks – filtering out wallets with no prior transaction history or very recent creation dates
No single method is perfect, but combining two or three of these approaches significantly reduces the risk.
Snapshot Timing and Announcements
Snapshot timing is when the platform records wallet balances or eligibility status before a sale. Announcing the snapshot window too far in advance gives bad actors time to game the system. A shorter, less predictable window – combined with clear public rules – is the better approach.
Admin Dashboard and Project Onboarding Features
A crypto launchpad is not just a tool for investors. It is also a platform that project teams use to manage their fundraise. The admin dashboard and project onboarding experience are what make that possible. If these features are clunky or incomplete, you will struggle to attract quality projects – no matter how good the investor-facing side looks.
Self-Service vs. Manual Onboarding
There are two broad approaches to how projects get listed on your launchpad.
Self-service onboarding lets project teams submit their own applications through a structured form or portal. They upload documents, set sale parameters, and move through a review queue without needing to contact your team for every step.
- Pros – scales well, reduces admin workload, faster for applicants
- Cons – requires strong validation logic to catch incomplete or suspicious submissions
Manual curation means your team reviews every application and configures each sale directly.
- Pros – higher quality control, better for early-stage platforms building reputation
- Cons – does not scale well as volume grows, slower turnaround
Most successful platforms start with manual curation to maintain quality, then build self-service tools as they grow. A hybrid model – where projects submit via a portal but your team approves before anything goes live – tends to work best in practice.
Admin Controls to Build In
Your admin panel needs to give operators full control over every sale without requiring a code change or redeployment. At a minimum, it should include:
- Pause and resume – the ability to halt a live sale instantly if something goes wrong
- Emergency withdrawal – a secure function to move funds in a crisis, protected by multi-sig authorization
- Parameter updates – the ability to adjust softcap, hardcap, sale timing, or tier thresholds before a sale goes live
- Wallet management – tools to add or remove wallets from whitelists and blacklists quickly
These controls are not just convenient. They are essential for responding to security incidents or last-minute project changes.
Due Diligence and Project Scoring
Before any project goes live on your platform, it should pass a basic due diligence check. A simple scoring rubric helps your team evaluate applications consistently. Common criteria include:
- Team identity and background verification
- Smart contract audit status
- Tokenomics review – supply, allocation, and vesting schedule
- Community size and engagement metrics
- Legal structure and jurisdiction
Building this into your onboarding workflow – even as a simple checklist – protects your platform’s reputation and reduces the risk of listing low-quality or fraudulent projects.
Good launchpad UX onboarding best practices apply here too. The clearer and more structured your onboarding process is, the more professional your platform looks to serious project teams.
Tokenomics Display and Investor Analytics
When investors land on a project page, they need information fast. They want to know how many tokens exist, who holds them, when they unlock, and how much has been raised so far. If that information is hard to find or poorly presented, investors lose confidence quickly. Clear tokenomics display and real-time analytics are a surprisingly powerful part of launchpad UX onboarding best practices.
What to Show on the Project Page
Every project listing on your launchpad should include a clean, easy-to-read tokenomics breakdown. This does not need to be complicated. It just needs to be honest and complete.
Key information to display includes:
- Total token supply – the full number of tokens that will ever exist
- Sale allocation – how many tokens are available in this specific round
- Token distribution breakdown – a visual chart showing how tokens are split between the team, investors, treasury, ecosystem, and public sale
- Vesting schedule – a clear timeline showing when each allocation unlocks, including any cliff periods
- Token price and raise target – the price per token, softcap, and hardcap for the current round
A simple pie chart for distribution and a timeline bar for vesting unlocks goes a long way. Investors should be able to understand the full picture in under two minutes.
Real-Time Raise Progress
A live fundraise progress widget is one of the most engaging features you can add to a project page. It shows how much has been raised against the target in real time. This creates natural urgency – especially as a sale approaches its hardcap.
The widget should update automatically and display:
- Amount raised so far
- Percentage of hardcap reached
- Time remaining in the sale
- Number of participants
This kind of transparency builds trust and encourages participation from investors who might be on the fence.
Wallet Contribution Tracking
Each investor should be able to log in and see their own contribution history in one place. This includes:
- How much did they contribute to each sale
- Their current token allocation
- Vesting unlock dates and amounts they can claim
- A claim button that connects directly to the vesting contract
This removes confusion and reduces support requests from investors asking where their tokens are.
Post-IDO Analytics
Once a sale closes, the data does not stop being useful. Post-sale analytics help both the launchpad operator and the project team understand what happened. Useful metrics to track and display include:
- Holder distribution – how many wallets hold the token and in what amounts
- Vesting unlock calendar – a forward-looking schedule of upcoming token releases
- Participation by tier – which tier contributed the most to the raise
Good launchpad tokenomics design is not just about the numbers behind the scenes. It is also about how clearly those numbers are communicated to the people putting money in.
Security Features Every Launchpad Needs
Security is not a feature you add at the end. It is something you build into your launchpad from the very first line of code. The crypto space has seen hundreds of millions of dollars lost to smart contract exploits, rug pulls, and platform vulnerabilities. A serious approach to security is what separates trustworthy launchpad platforms from ones that get exploited and disappear.
Smart Contract Security Patterns
There are several well-known security patterns that every launchpad smart contract should implement. These are not optional extras – they are the baseline.
- Reentrancy guards – a reentrancy attack happens when a malicious contract calls back into your contract before the first execution finishes. A simple nonReentrant modifier prevents this. It is one of the most common exploit types in DeFi and one of the easiest to guard against.
- Integer overflow protection – in older versions of Solidity, integer values could wrap around and produce unexpected results. Solidity 0.8.x and above handles this automatically, but if you are working with older code, always use SafeMath or upgrade your compiler version.
- Access control patterns – not every function in your contract should be callable by anyone. Use role-based access control to restrict sensitive functions like pausing a sale, updating parameters, or withdrawing funds to authorized addresses only.
Here is a simple example of a reentrancy guard in action:
Code snippet - illustrative only

bool private locked;

modifier nonReentrant() {
    require(!locked, "Reentrant call");
    locked = true;
    _;
    locked = false;
}
Multi-Sig Treasury
Any funds raised through your launchpad should never sit in a single wallet controlled by one person. A multi-signature (multi-sig) wallet requires multiple authorized parties to approve a transaction before it executes. This protects raised funds from both external attacks and internal bad actors.
A common setup requires 3 out of 5 signers to approve any fund movement. Tools like Gnosis Safe are widely used for this purpose – though always verify current options and do your own research before choosing a solution.
On-Chain Audit Trail and Event Logging
Every important action on your launchpad – contributions, refunds, token claims, admin changes – should emit an on-chain event. This creates a transparent, tamper-proof audit trail that anyone can verify.
Code snippet - illustrative only

emit TokensClaimed(msg.sender, amount, block.timestamp);
emit SalePaused(adminAddress, block.timestamp);
Good event logging also makes it much easier to debug issues and respond to user disputes.
Smart Contract Upgrade Patterns
At some point, you will likely need to update your contracts – to fix a bug, add a feature, or respond to a security finding. There are two main approaches:
- Proxy pattern (upgradeable contracts) – allows you to update contract logic without changing the contract address. More flexible but adds complexity and introduces new attack surfaces if not implemented carefully.
- Immutable contracts – once deployed, the code cannot change. Safer in some ways, but means redeploying and migrating users if you need to make changes.
Neither option is perfect. Most production launchpads use a proxy pattern for flexibility but subject it to a thorough audit before deployment.
Launchpad Security Audit Checklist
Before going live, every launchpad should go through a formal security audit. A basic launchpad security audit checklist should cover:
- Reentrancy vulnerabilities
- Access control weaknesses
- Integer overflow and underflow
- Front-running risks
- Logic errors in vesting and allocation math
- Events and error handling completeness
- Gas optimization review
Work with a reputable audit firm and allow enough time – typically 3 to 5 weeks – for the audit and any remediation work that follows.
Conclusion
You have now covered a lot of ground. From smart contract architecture to compliance layers, tier systems to security audits – each feature plays a specific role in making a crypto launchpad platform safe, scalable, and worth using.
The truth is, most launchpad projects do not fail because of a bad idea. They fail because key features were skipped, rushed, or not thought through carefully enough. Security vulnerabilities, weak tokenomics design, poor compliance planning, and clunky user experiences are all avoidable problems – if you plan well from the start.


Leave a Reply